A broken head gasket can trigger some of the priciest and most time-consuming repairs in any vehicle. By grasping the essential role this part plays and how to replace it, you can save both money and effort. In this comprehensive guide, we’ll look into the head gasket’s purpose, the early warning signs of potential failure, and the steps to take for a proper replacement—ensuring you’re ready to address this engine challenge head-on.
The Role of a Head Gasket in Engine Operation
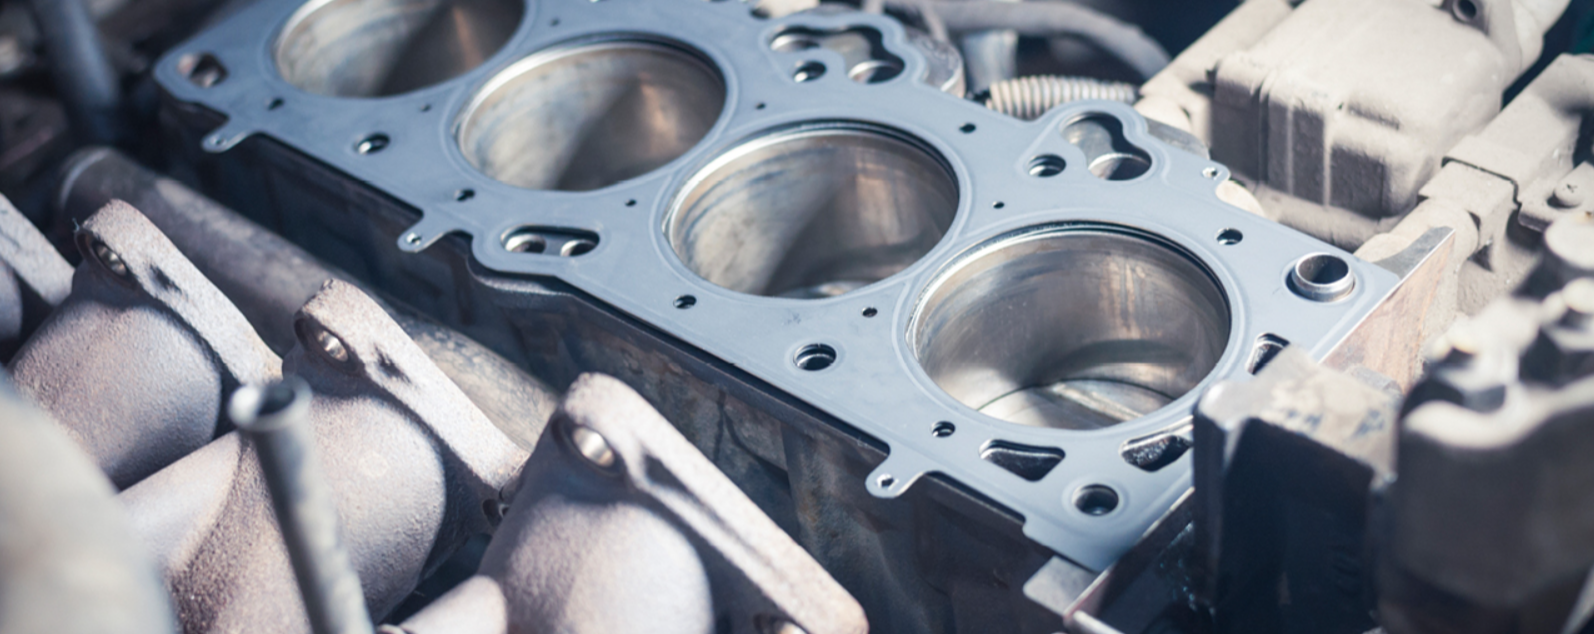
Situated where the engine block meets the cylinder head, the head gasket provides a barrier preventing oil, coolant, and combustion gases from coming into contact with each other. Maintaining this separation is essential for preserving engine compression and avoiding overheating. If the gasket deteriorates, oil and coolant may mingle or leak, resulting in reduced lubrication and placing numerous engine components at risk of damage.
Significant Indicators of a Failing Head Gasket
Identifying signs of a head gasket failure early on can help you avert more extensive damage. Here are some common symptoms to watch for:
- White Exhaust Smoke: Typically a sign that coolant is leaking into the combustion chamber.
- Engine Overheating: Often due to loss of coolant or poor flow through the system.
- Milky Oil Consistency: Indicates coolant contamination in the oil, which threatens engine lubrication.
- Consistent Coolant Loss: If the coolant reservoir is low without visible leaks, this could signal a problem.
- Decreased Engine Performance: Symptoms such as misfires and reduced power may arise due to compromised compression.
If you observe any of these warning signs, it may be time to assess the condition of your head gasket.
Evaluating the Need for Replacement
To confirm a head gasket failure, several diagnostic tests may be required:
- Compression Test: Measures whether each cylinder maintains the required pressure.
- Chemical Testing (Block Test): Identifies the presence of combustion gases in the cooling system.
- Oil Assessment: Looks for coolant contamination in the oil.
While a single test could be indicative, mechanics often use a combination of tests for a reliable diagnosis.
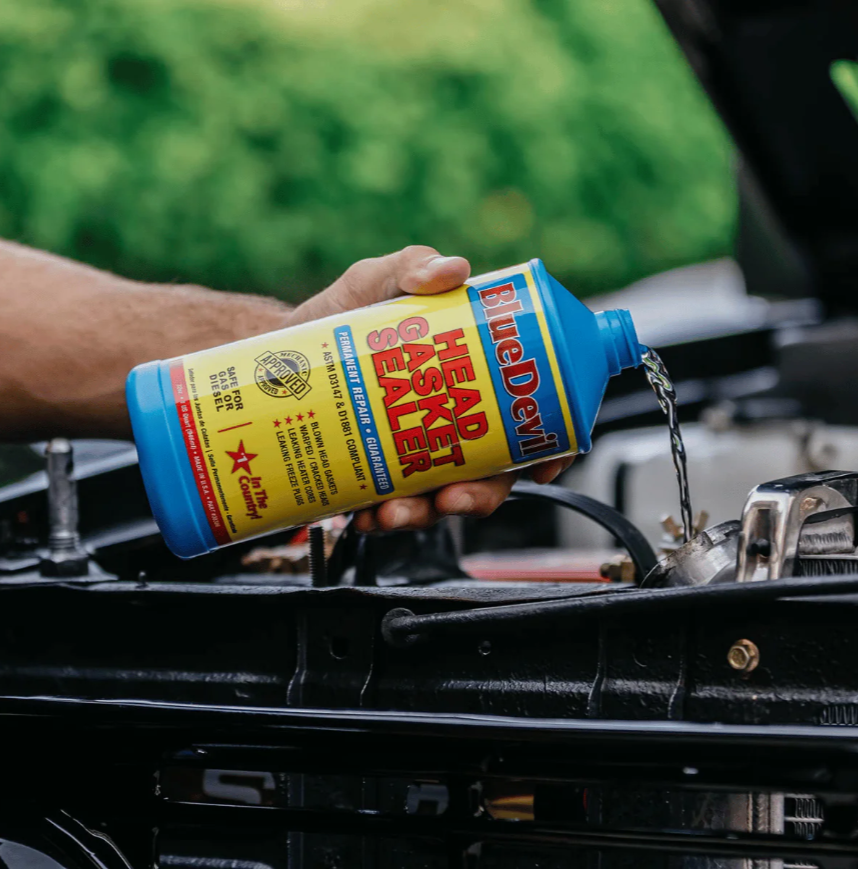
When a Quick Fix Won’t Suffice
Although head gasket sealants may address minor seepage, they typically fail to remedy serious damage or significant fractures in the gasket. If your vehicle suffers from ongoing overheating, substantial oil-coolant mixing, or reveals a crack in the engine block, a full replacement of the gasket becomes unavoidable.
Preparing for a Head Gasket Replacement
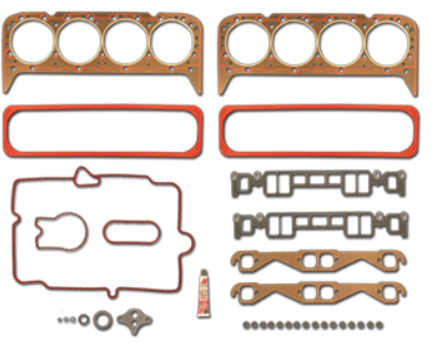
Essential Tools and Materials:
To successfully replace a head gasket, ensure you have the following tools and parts:
- Torque Wrench: To tighten bolts according to specified torque settings.
- Socket Set: For removing bolts of various sizes.
- Head Gasket Kit: Contains a new head gasket and necessary seals.
- Engine Hoist (If Required): Needed for certain engine types.
- Coolant and Oil: Necessary for refilling after the repair.
- Gasket Scraper: To eliminate the old gasket material.
- Sealant: Some engines require particular sealants around the coolant passages.
Setting Expectations and Budgeting
Replacing a head gasket can be a daunting task for DIY enthusiasts. Costs can vary significantly:
- Parts Price: From $50 to several hundred dollars, depending on the engine.
- Labor Charges: For professional assistance, labor can range from $500 to $2,000 or more.
- Additional Replacements: Be prepared for possible replacements of head bolts, coolant hoses, or other parts.
Understanding these potential costs aids in effective budgeting and planning.
Step-by-Step Process for Replacement
Disconnect the Battery: Begin by detaching the negative battery cable to avoid electrical hazards.
Drain Fluids: Safely remove the engine’s oil and coolant.
Disassemble Parts: Take off the intake manifold, exhaust manifold, and any other components blocking access to the cylinder head.
Unbolt the Cylinder Head: Adhere to the manufacturer’s recommended bolt removal pattern.
Lift Off the Head: Gently remove the head, revealing the worn-out gasket beneath.
Clean Surfaces: Use a scraper to eliminate all residual gasket material from the engine block and head, ensuring a pristine mating surface.
Installing the New Gasket:
- Inspect the Engine Block and Head: Check for any warping or cracks. Any defects may necessitate professional machining.
- Align the New Gasket: Ensure all holes match precisely as indicated in your service manual.
- Reinstall the Cylinder Head: Carefully place it back on the engine block.
- Torque to Specifications: Refer to your vehicle’s manual for exact torque specifications and tightening patterns.
- Reattach All Components: Put back manifolds, hoses, and any wiring disconnected earlier.
- Refill Fluids: Add new coolant and oil as needed.
- Start the Engine and Test: Run your engine and monitor for leaks or unusual noises.
Cost Considerations: DIY vs. Professional Repair
- DIY Approach: If you have sufficient mechanical skills, you may save on labor costs, though it’s labor-intensive and requires precision.
- Professional Service: Hiring a mechanic provides expertise but can be costly.
Understanding these factors ensures a well-informed decision when addressing a head gasket replacement.